
Getting Started with Apache Airflow on macOS (Using Docker)
A Beginner-Friendly Guide
Not subscribed yet? Use the button below:
Hi, I’m Luigi. I share my notes, observations, analyses, and what I learned from the masters.
Opinions expressed are solely my own and do not express the views or opinions of my employer.
INTRO
I’ve been working with Airflow for a while now, and I thought I’d share with you—and other macOS users—how I set it up locally on my machine.
This article focuses on macOS but the process is pretty much the same also on Windows and Linux.

Why Docker?
Installing Apache Airflow directly on macOS can be surprisingly painful, especially for beginners. Airflow comes with a non-trivial set of dependencies: specific Python versions, system libraries, database backends, schedulers, and a web server. Aligning all of these correctly on a local machine often leads to version conflicts and hard-to-debug issues.

Using Docker avoids most of these problems by providing a clean, reproducible, and isolated environment that closely resembles how Airflow is typically run in production.
With Docker, you don’t need to worry about:
conflicting Python versions,
system packages required by Airflow,
breaking your local environment,
or cleaning everything up if something goes wrong.
You can start, stop, reset, or completely remove your Airflow setup with just a few commands—without touching your host system.
A lot of people have asked me to clarify the difference between Docker containers and virtual machines, because both are often described as “isolated environments.”
The key difference lies in the level of isolation they provide.
Virtual machines guarantee hardware-level isolation.
Each VM:
includes a full operating system (kernel + user space),
runs on top of a hypervisor (such as VirtualBox, VMware, or Hyper-V),
behaves like a completely separate computer.
Because of this, virtual machines are heavier, consume more resources, and are slower to start—but they provide very strong isolation.
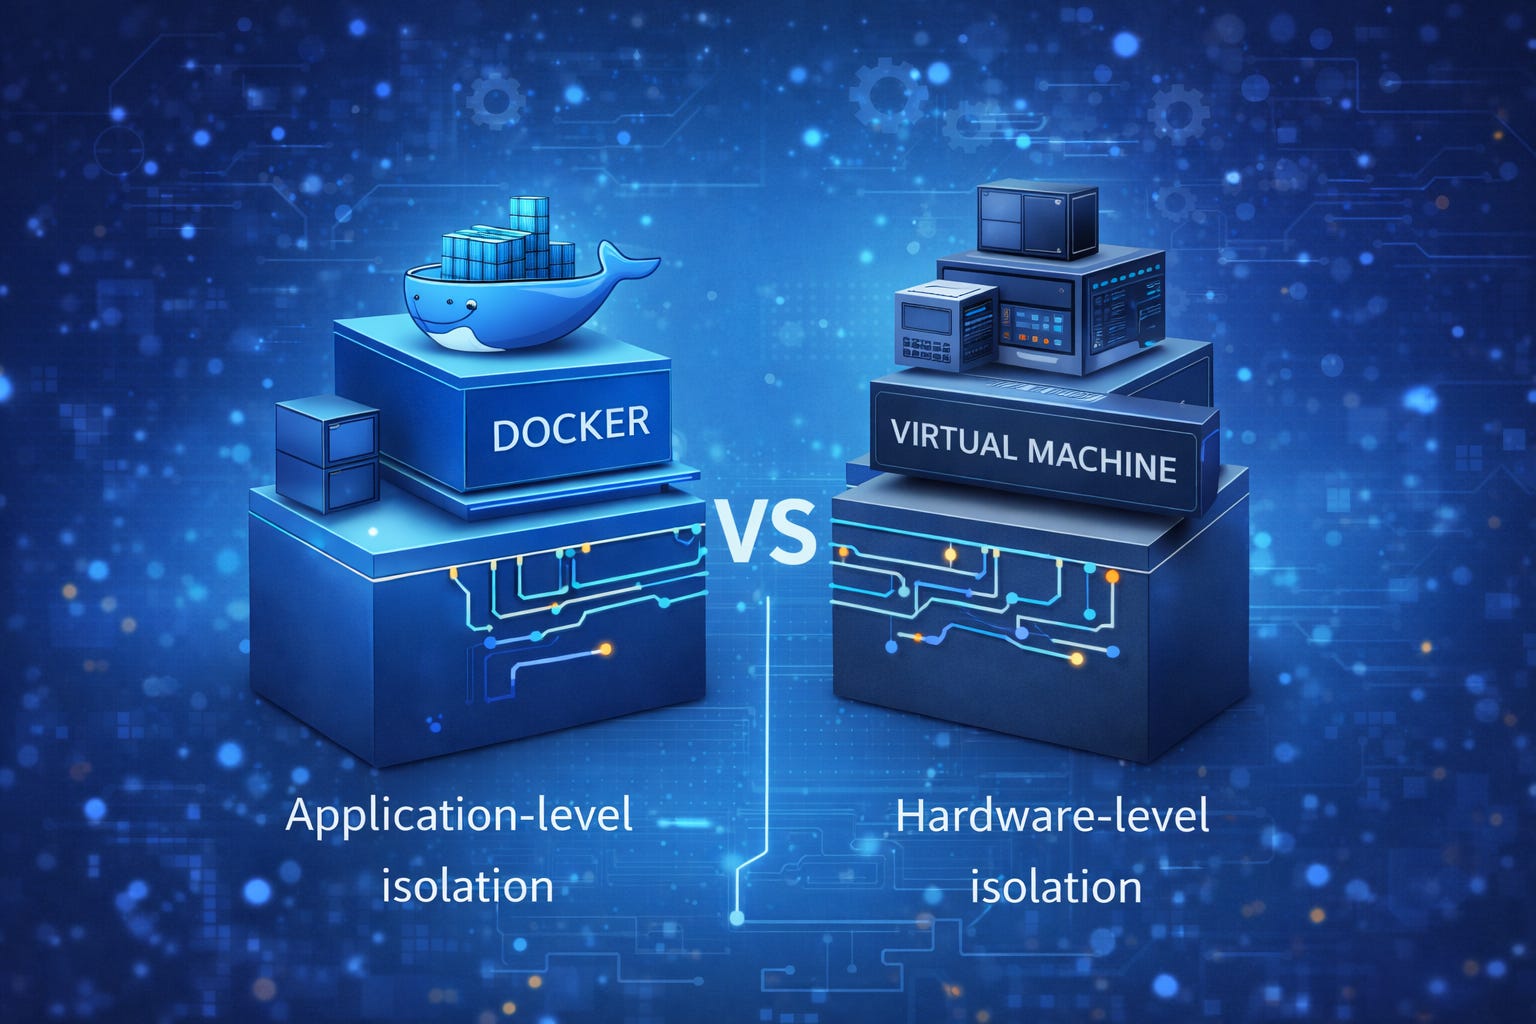
Docker containers, on the other hand, provide application-level isolation.
A container:
runs on top of the host operating system’s kernel,
uses the host’s CPU, memory, and networking,
does not require installing a full operating system inside the container.
This means that Docker still uses, under the hood, the underlying OS and resources installed on the machine. Unlike virtual machines, containers do not need to boot an entire operating system.
Because of this design, containers are:
much lighter than VMs,
faster to start,
easier to manage,
ideal for local development and CI/CD workflows.
This makes Docker a particularly good fit for running Airflow locally.
Docker fundamentals
Before proceeding, we need to cover some Docker basics. In particular, we need to understand what containers, images, and Docker Compose are.
If you are familiar with those concepts feel free to jump directly to the installation.
A Docker container is a running instance of an application packaged together with:
its dependencies,
required libraries,
configuration,
and runtime environment.
You can think of a container as a standardized unit that runs the same way on every machine, regardless of the host setup. Once started, a container runs in isolation from other containers and from the host system, except for the resources and permissions you explicitly allow.
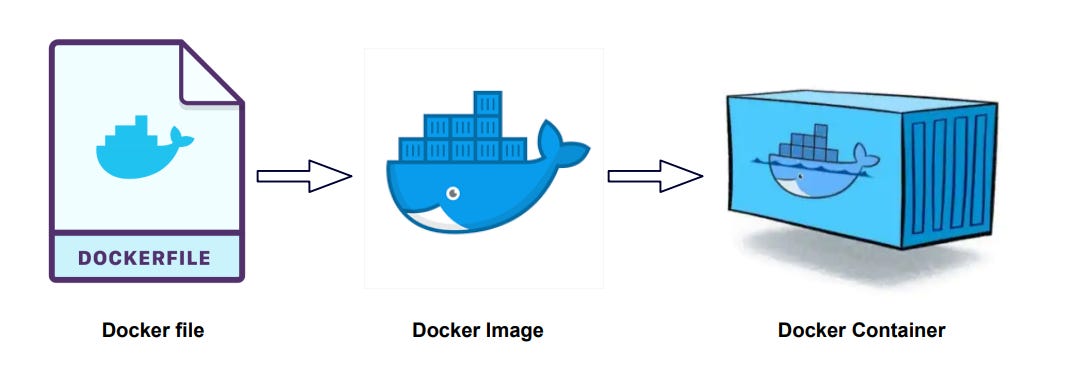
A Docker image is a read-only template used to create containers.
It contains everything needed to run an application—code, dependencies, and configuration—but it is not running by itself.
The specifications of a Docker image are defined in a text file, usually called a Dockerfile. This file is then built to generate the image, which is effectively a binary artifact.
A Docker container is a running instance of a Docker image.
When you start an image, Docker creates a container from it. While the image is immutable, the container is not: logs, temporary files, and runtime state exist for as long as the container is running.
A simple analogy:
Docker image → recipe
Docker container → cooked dish
You can run multiple containers from the same image, each completely independent from the others.
When an application is made of multiple services—as is the case with Airflow—managing containers individually quickly becomes cumbersome. This is where Docker Compose comes in.
Docker Compose is a tool that allows you to define and run multi-container applications using a single configuration file. With Docker Compose, you can describe:
which containers are needed,
how they communicate with each other,
which ports and volumes they use,
and how they should be started.
This makes it much easier to run complex systems like Airflow locally with a single command.
Installing Airflow with Docker
Technically, Airflow can run in a single container for very simple setups or demos.
However, this is not recommended, even for local development.
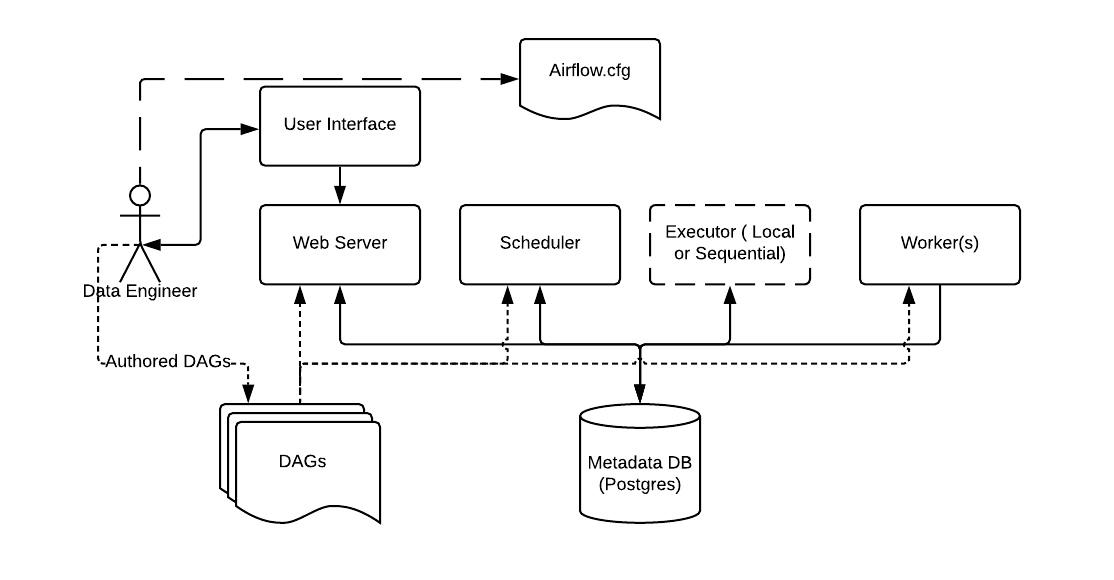
Airflow is composed of multiple components:
the webserver,
the scheduler,
the workers (for task execution),
and a metadata database (usually PostgreSQL).
In practice, you will need multiple containers, each responsible for a specific component. This mirrors real-world deployments and helps you understand how Airflow actually works.
That’s why most Docker-based Airflow setups use Docker Compose, which allows you to define and manage multiple containers as a single application.
Install Docker for Desktop
The first step is to install Docker for Desktop.
You can download the installer directly from the official website and install it manually,
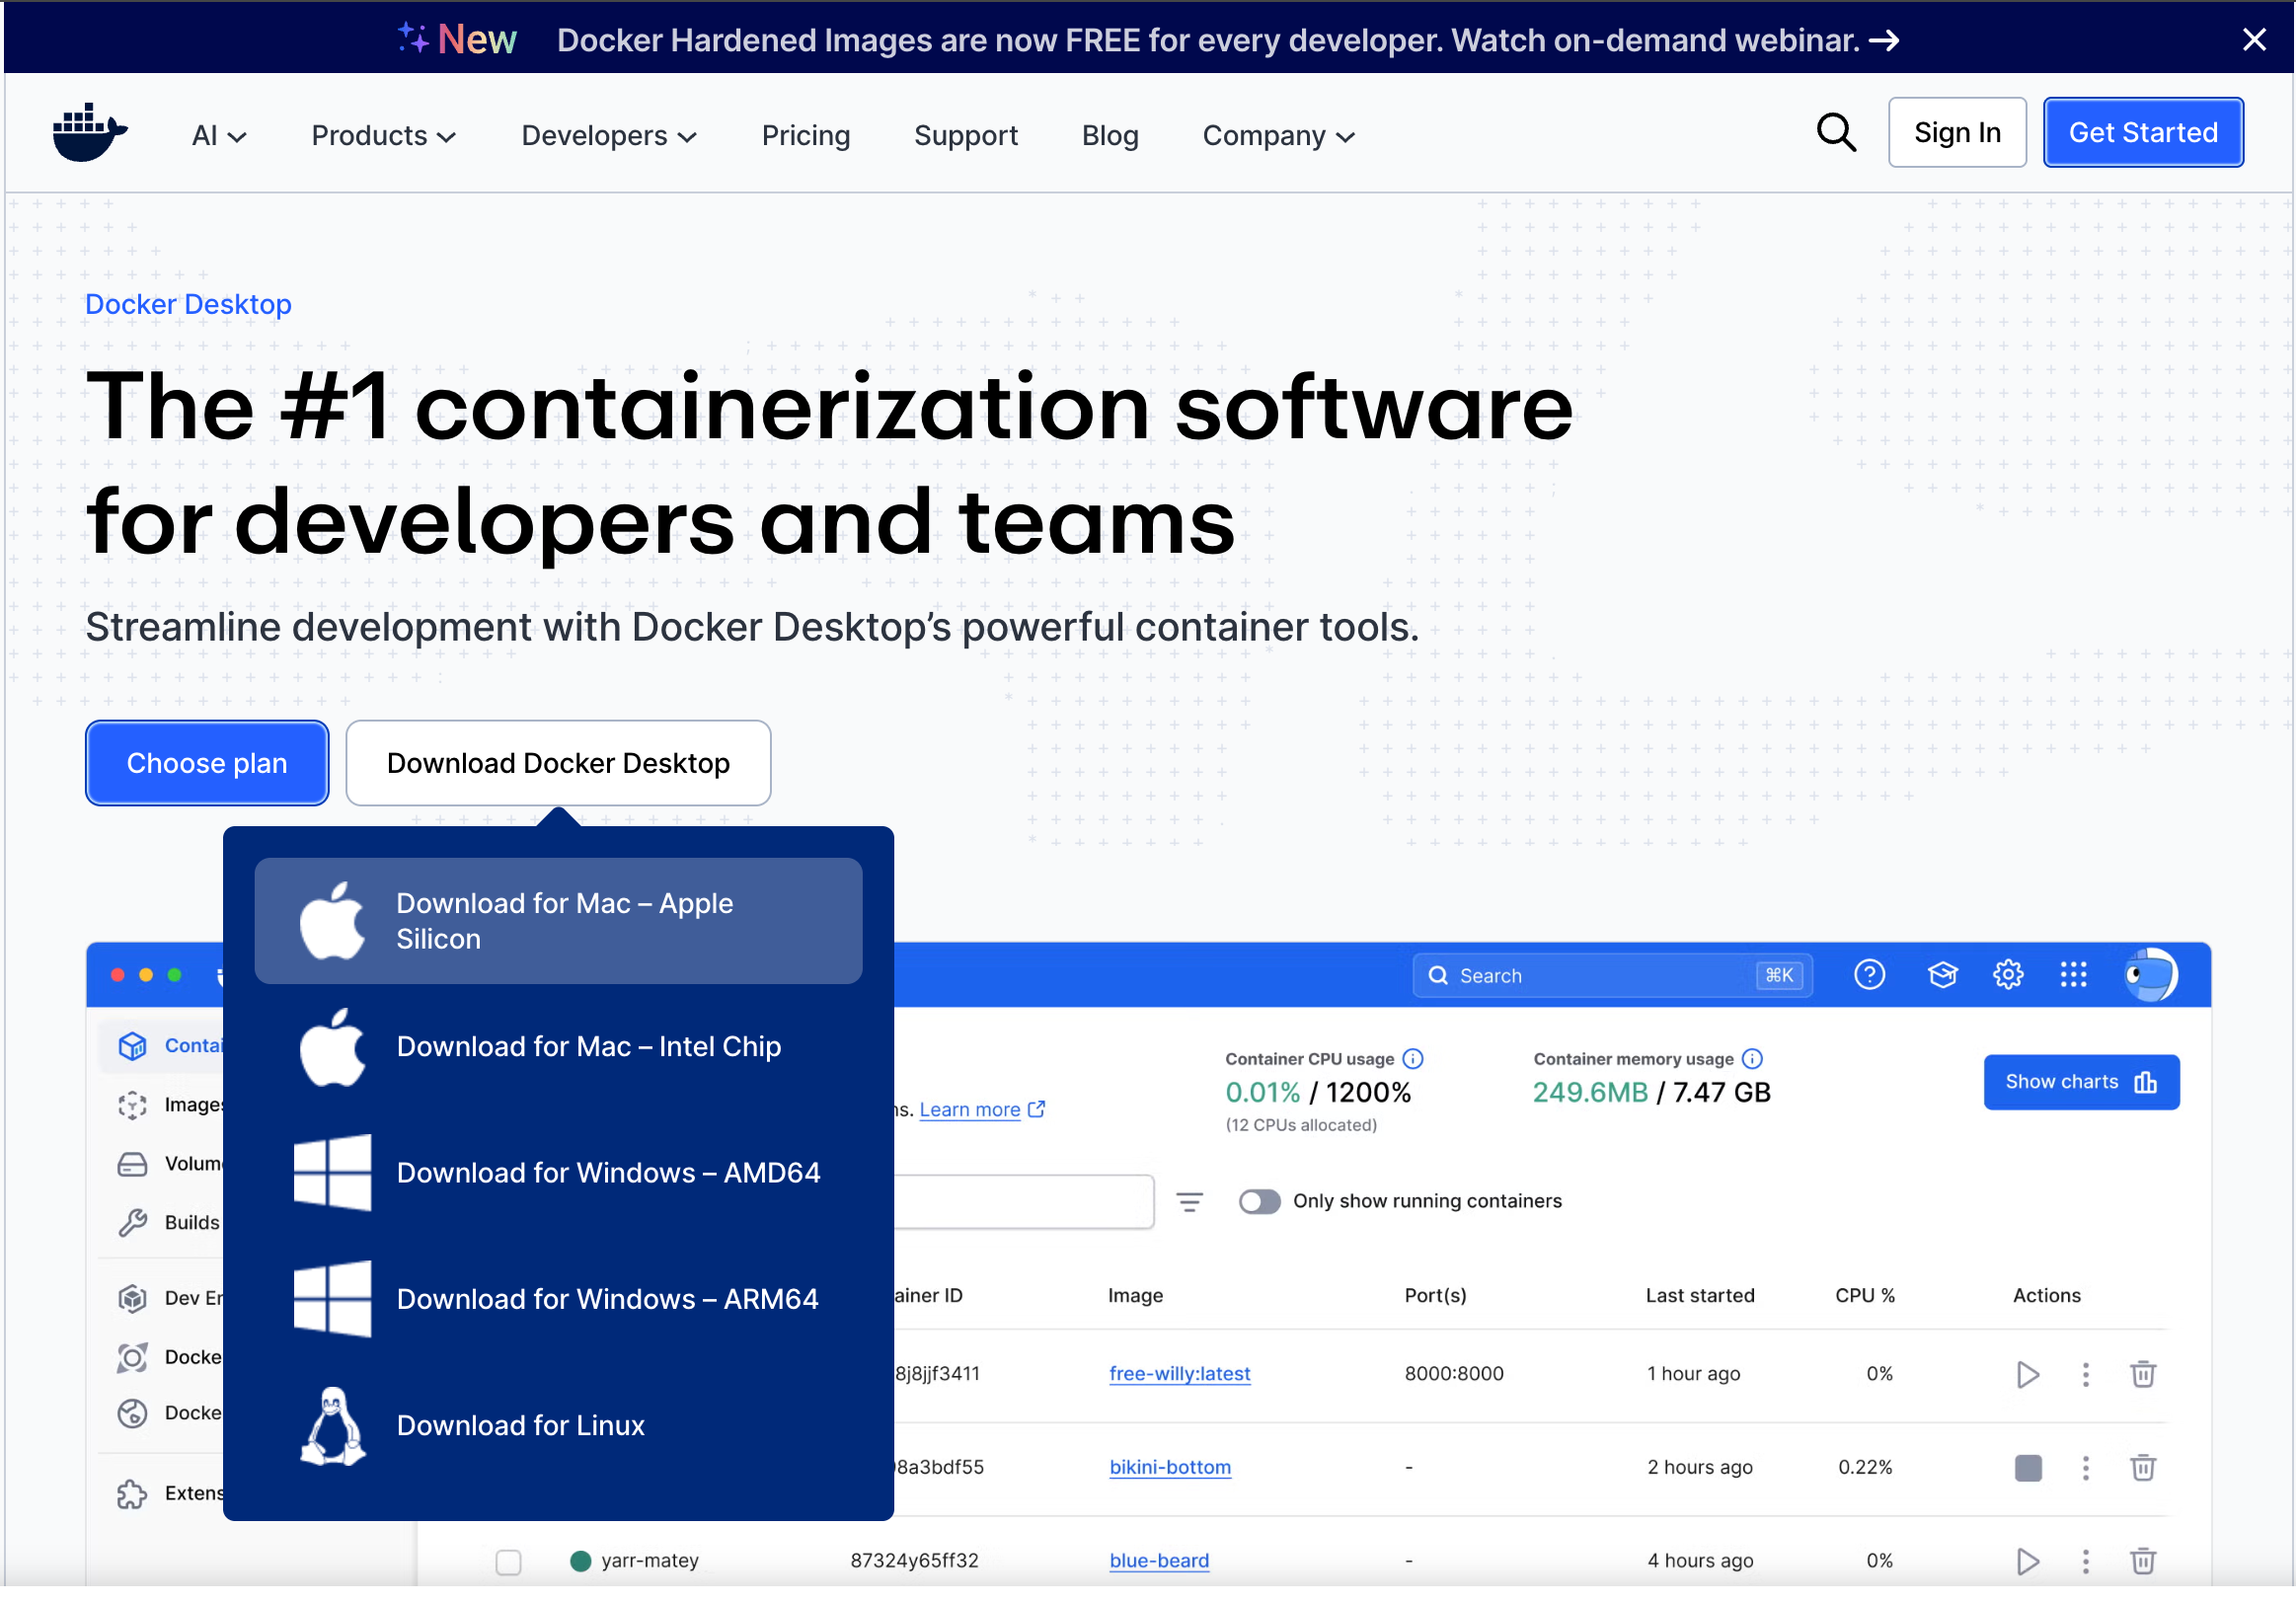
or — if you prefer using Homebrew — install it using the following command:
brew install --cask docker-desktopOnce the installation is complete, run the Docker fod Desktop app, select the recommended settings, subscribe with your personal email (or skip) and you will get to the initial page.
At this point we can open a terminal and verify the installed versions of the Docker components with the following commands.
user@MacBook ~ % docker --version
Docker version 29.1.3, build f52814d
user@MacBook ~ % docker-compose --version
Docker Compose version v5.0.0-desktop.1
Docker compose
Now we need to provide Docker with a Compose file that defines the instructions required to run the various Airflow components.
You can either create your own docker-compose.yaml file manually, or use one provided by the community. To keep things simple and reliable, we’ll refer to the official Apache Airflow documentation, which includes a guide to setup Airflow with Docker.
The documentation includes a section explaining how to fetch the docker-compose.yaml file for the Airflow installation, along with a direct link to download it.
The docker-compose.yaml file instructs Docker on how to create a dedicated container for each service in the Airflow architecture, including:
airflow-scheduler — The scheduler monitors all tasks and Dags, then triggers the task instances once their dependencies are complete.
airflow-dag-processor — Parses DAG files and prepares them for execution.
airflow-api-server — Exposes the Airflow web UI and API at http://localhost:8080
airflow-worker — Executes the tasks assigned by the scheduler.
airflow-triggerer — Runs an event loop for deferrable tasks.
airflow-init — Handles initialization tasks.
postgres — The metadata database used by Airflow.
redis — The redis - broker that forwards messages from scheduler to worker.
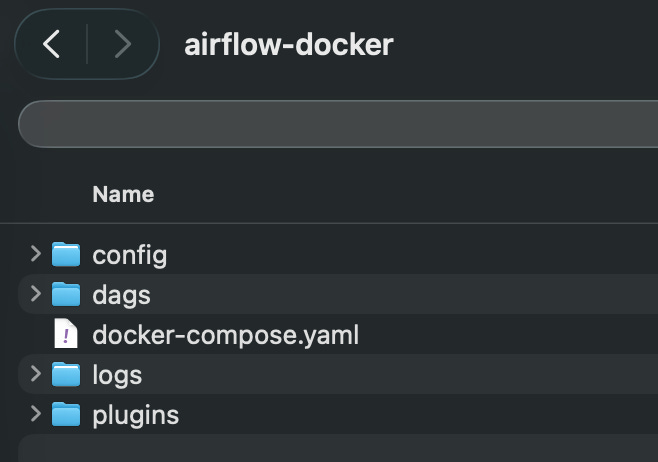
Download the file and copy it into a local directory, e.g. ~/Documents/airflow-docker.
Since we like to know what’s going on in our system, let’s open the docker-compose.yaml in a text editor and read carefully the key instructions provided with the file.
WARNING: This configuration is for local development. Do not use it in a production deployment.
This is very important.
This setup is not hardened for security, uses default credentials and has no backups, no HA and no secrets management.
It is perfect for learning and local testing, but not production-ready.
This configuration supports basic configuration using environment variables or an .env file
Docker Compose can read variables from your shell environment, or from a .env file placed next to the docker-compose.yaml file.
This let you customize the docker-compose behaviour without editing the YAML file itself.
The list of parameters available is well explained in the file itself.
For our environment we will create a new file in the same folder where we created the yaml file (in my case ~/Documents/airflow-docker) called .env
user@MacBook ~ % touch .envAnd we will fill it with the following set of parameters (at the time of writing the default apache/airflow:3.1.6, insert the version suggested in the yaml file you downloaded or the version you want to use).
AIRFLOW_UID=50000
AIRFLOW_PROJ_DIR=.
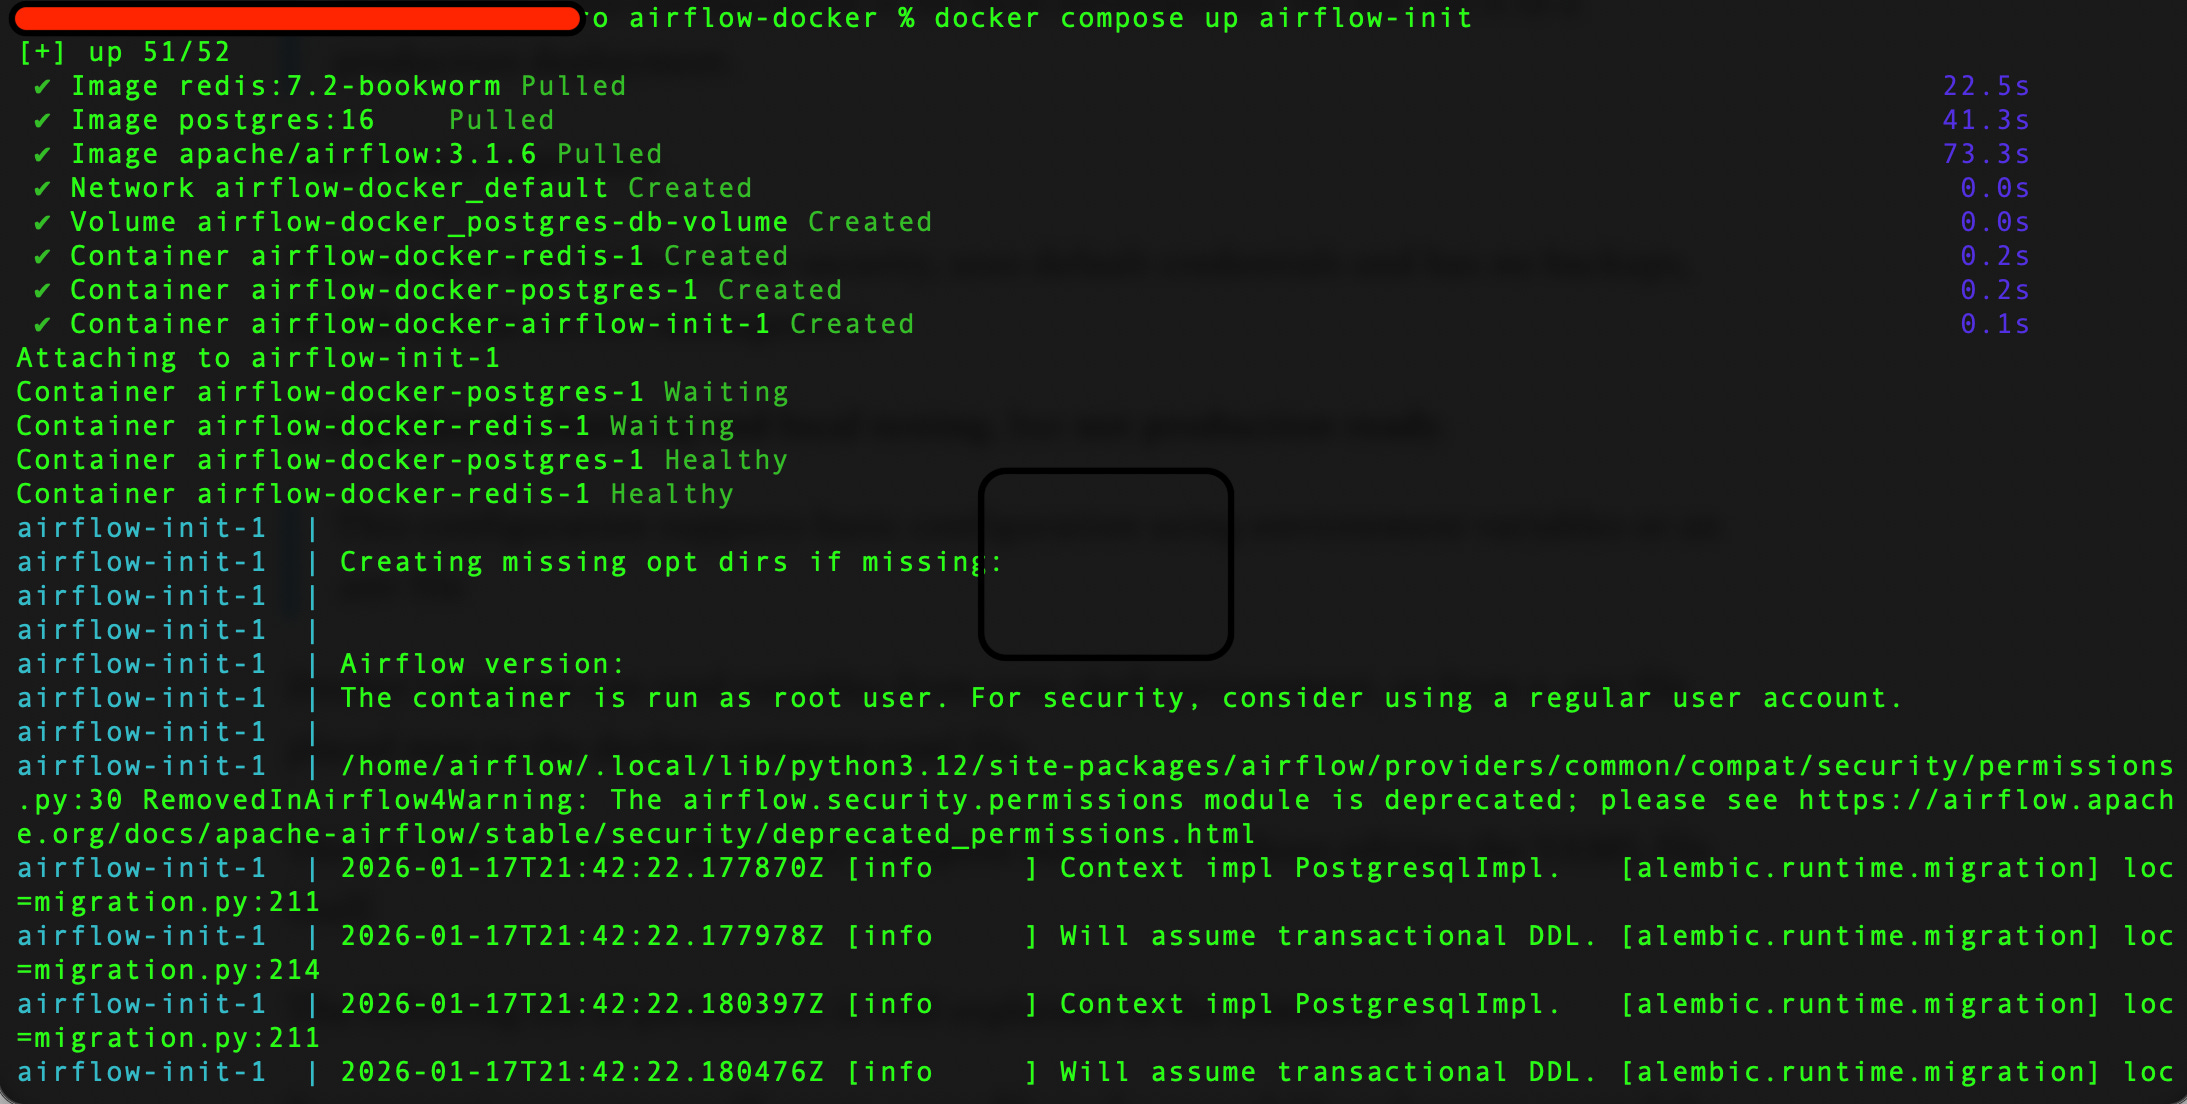
AIRFLOW_IMAGE_NAME=apache/airflow:3.1.6Now we can open a terminal in the folder where we stored our 2 files and, only for the first run, lunch the following initialization command.
docker compose up airflow-initThe command will trigger the initialization
Now (and for the next runs) we can start the Airflow environment with the command
docker compose upYou can now access to your brand new local Airflow environment typing the address http://localhost:8080/ in your favourite browser.
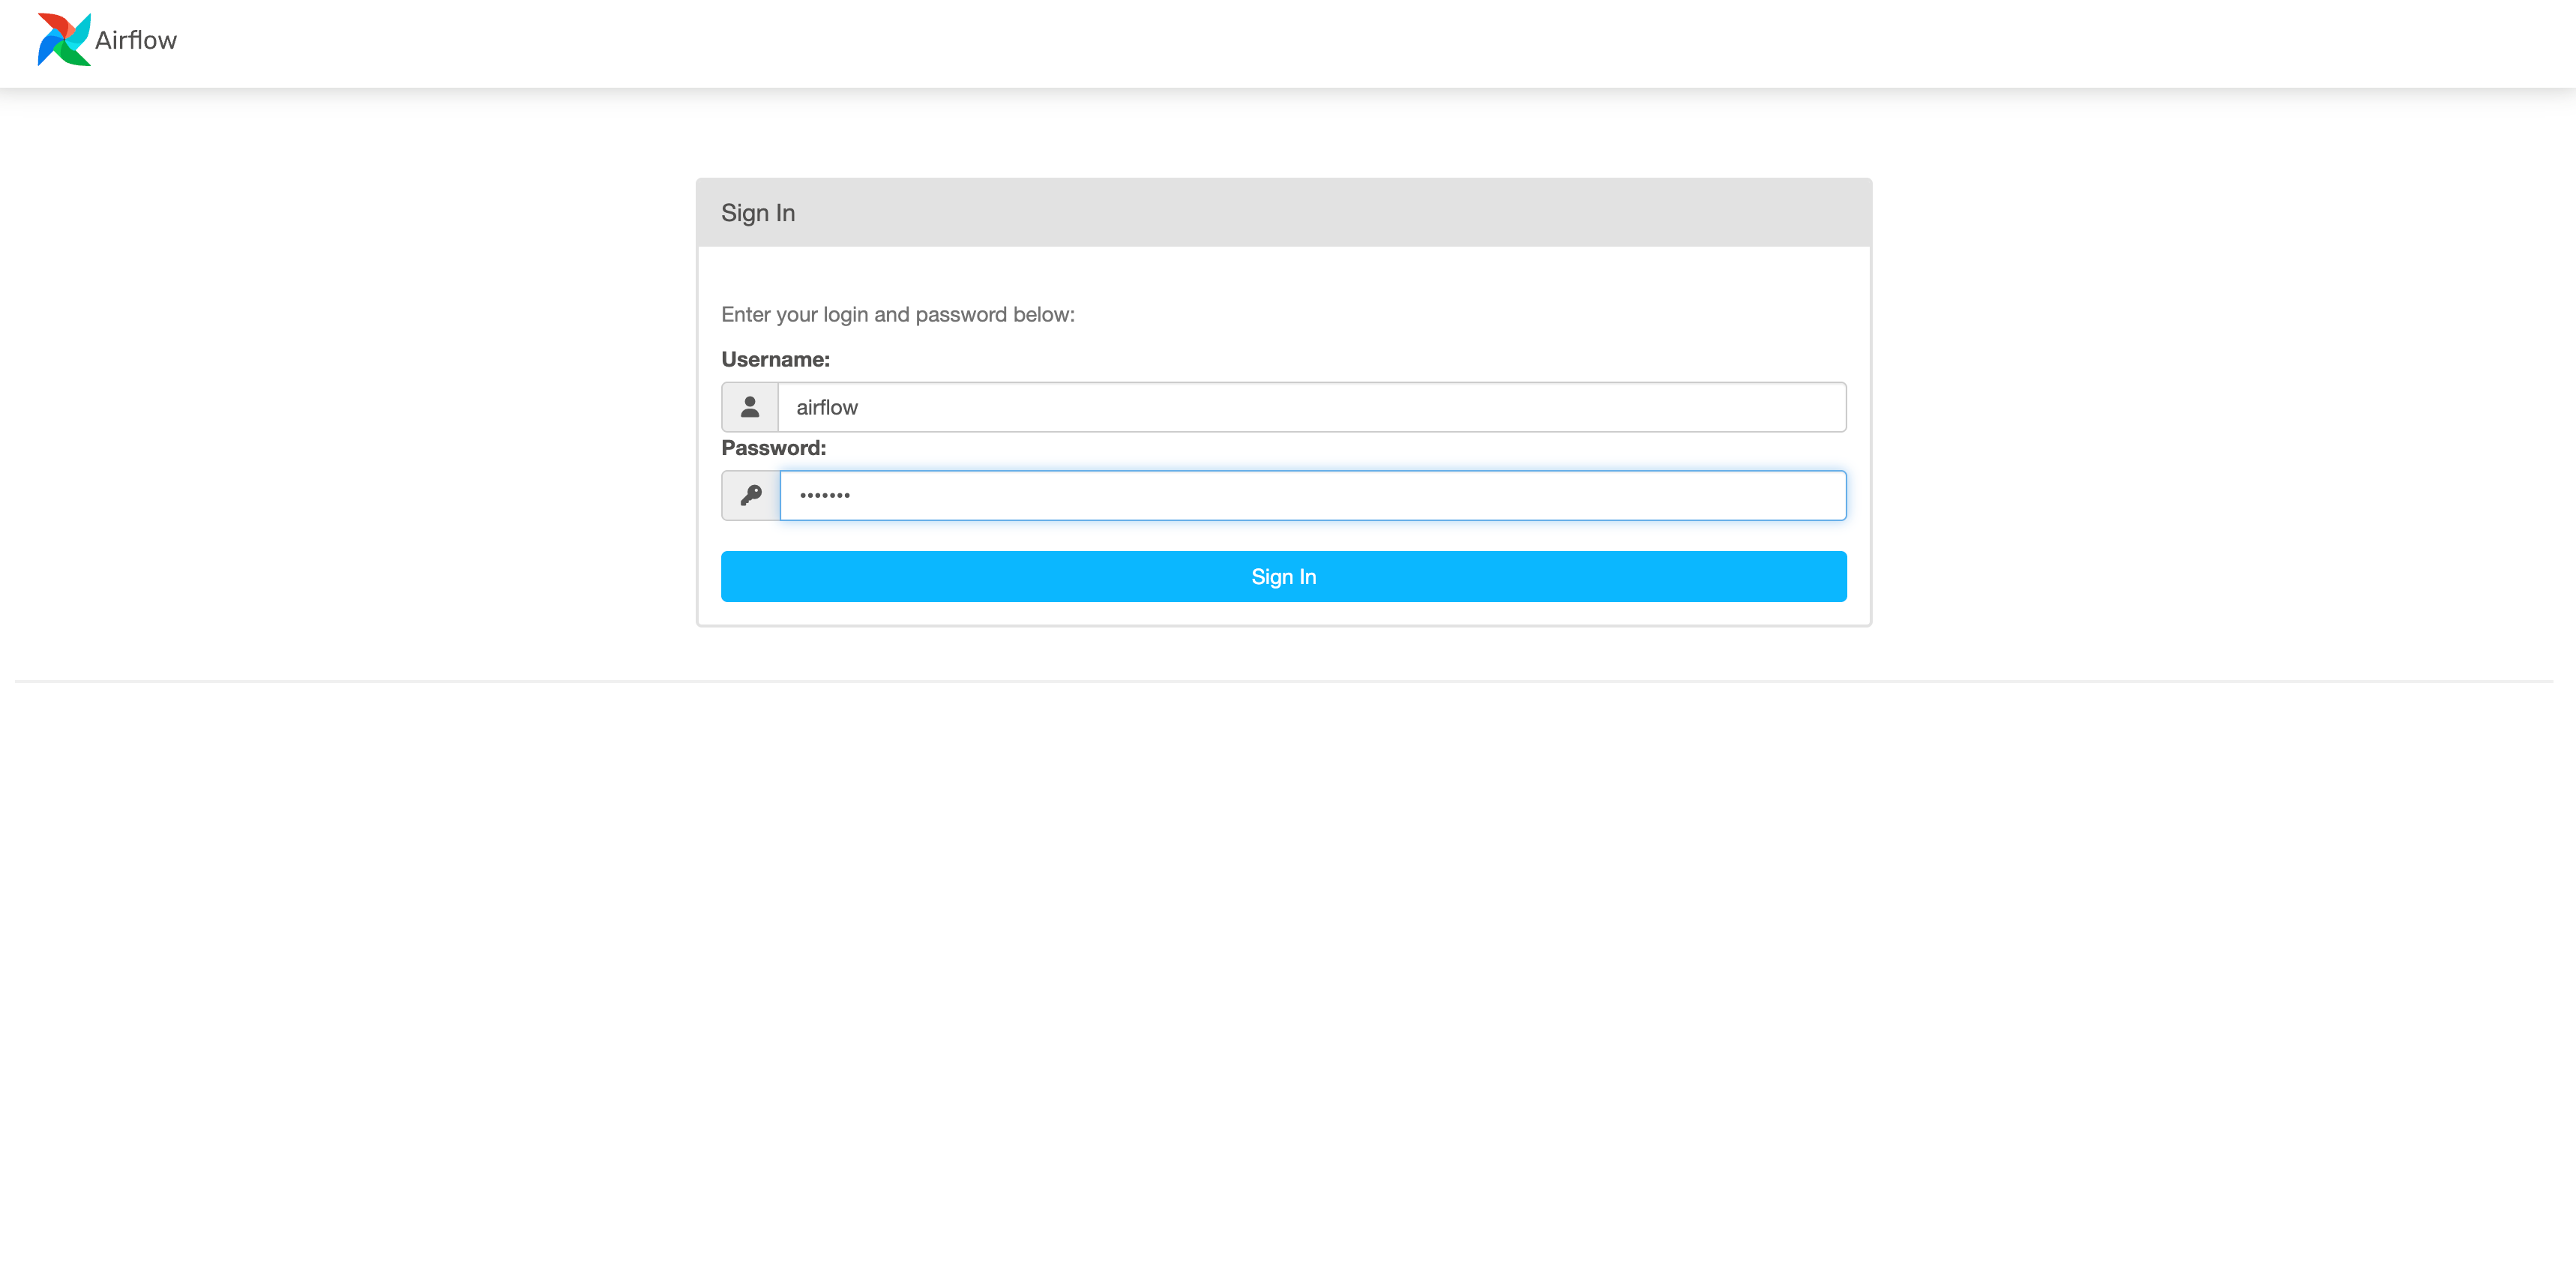
The user and password are the default ones that are defined in the docker-compose.yaml file you used (airflow/airflow).
We can notice that starting the environment created a series of new objects in the folder where the yaml file is located that will be used by Airflow to manager our DAGs.
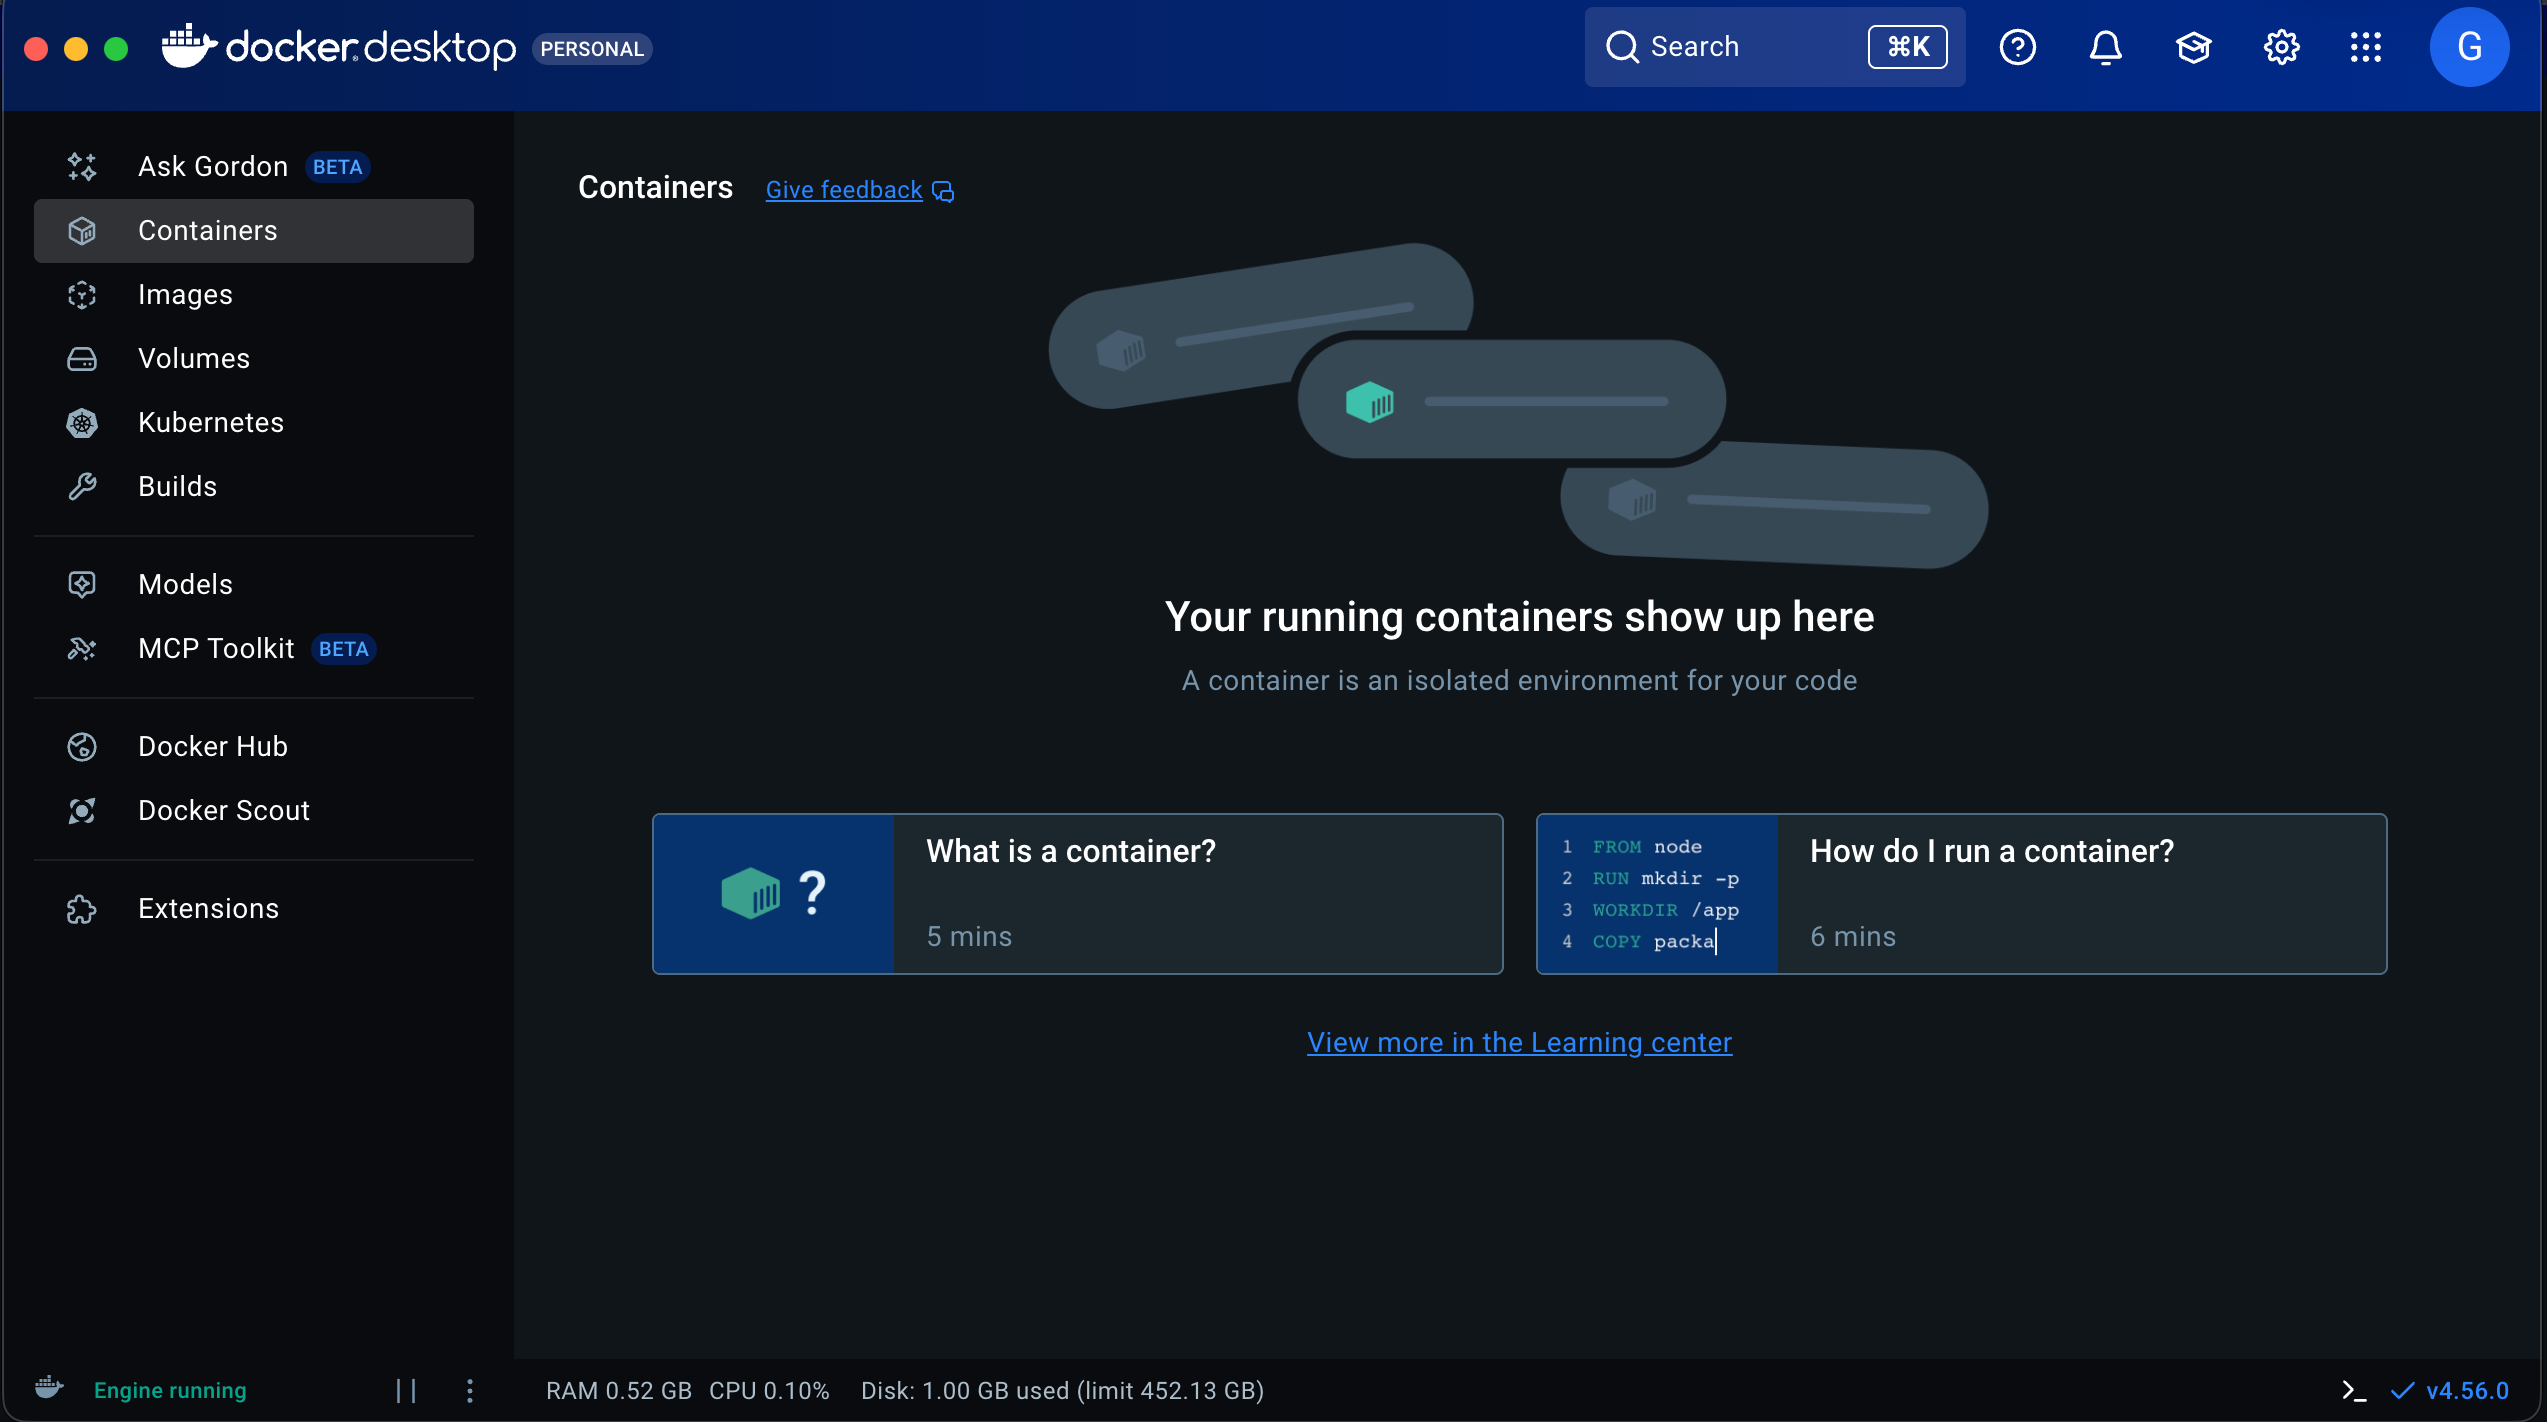
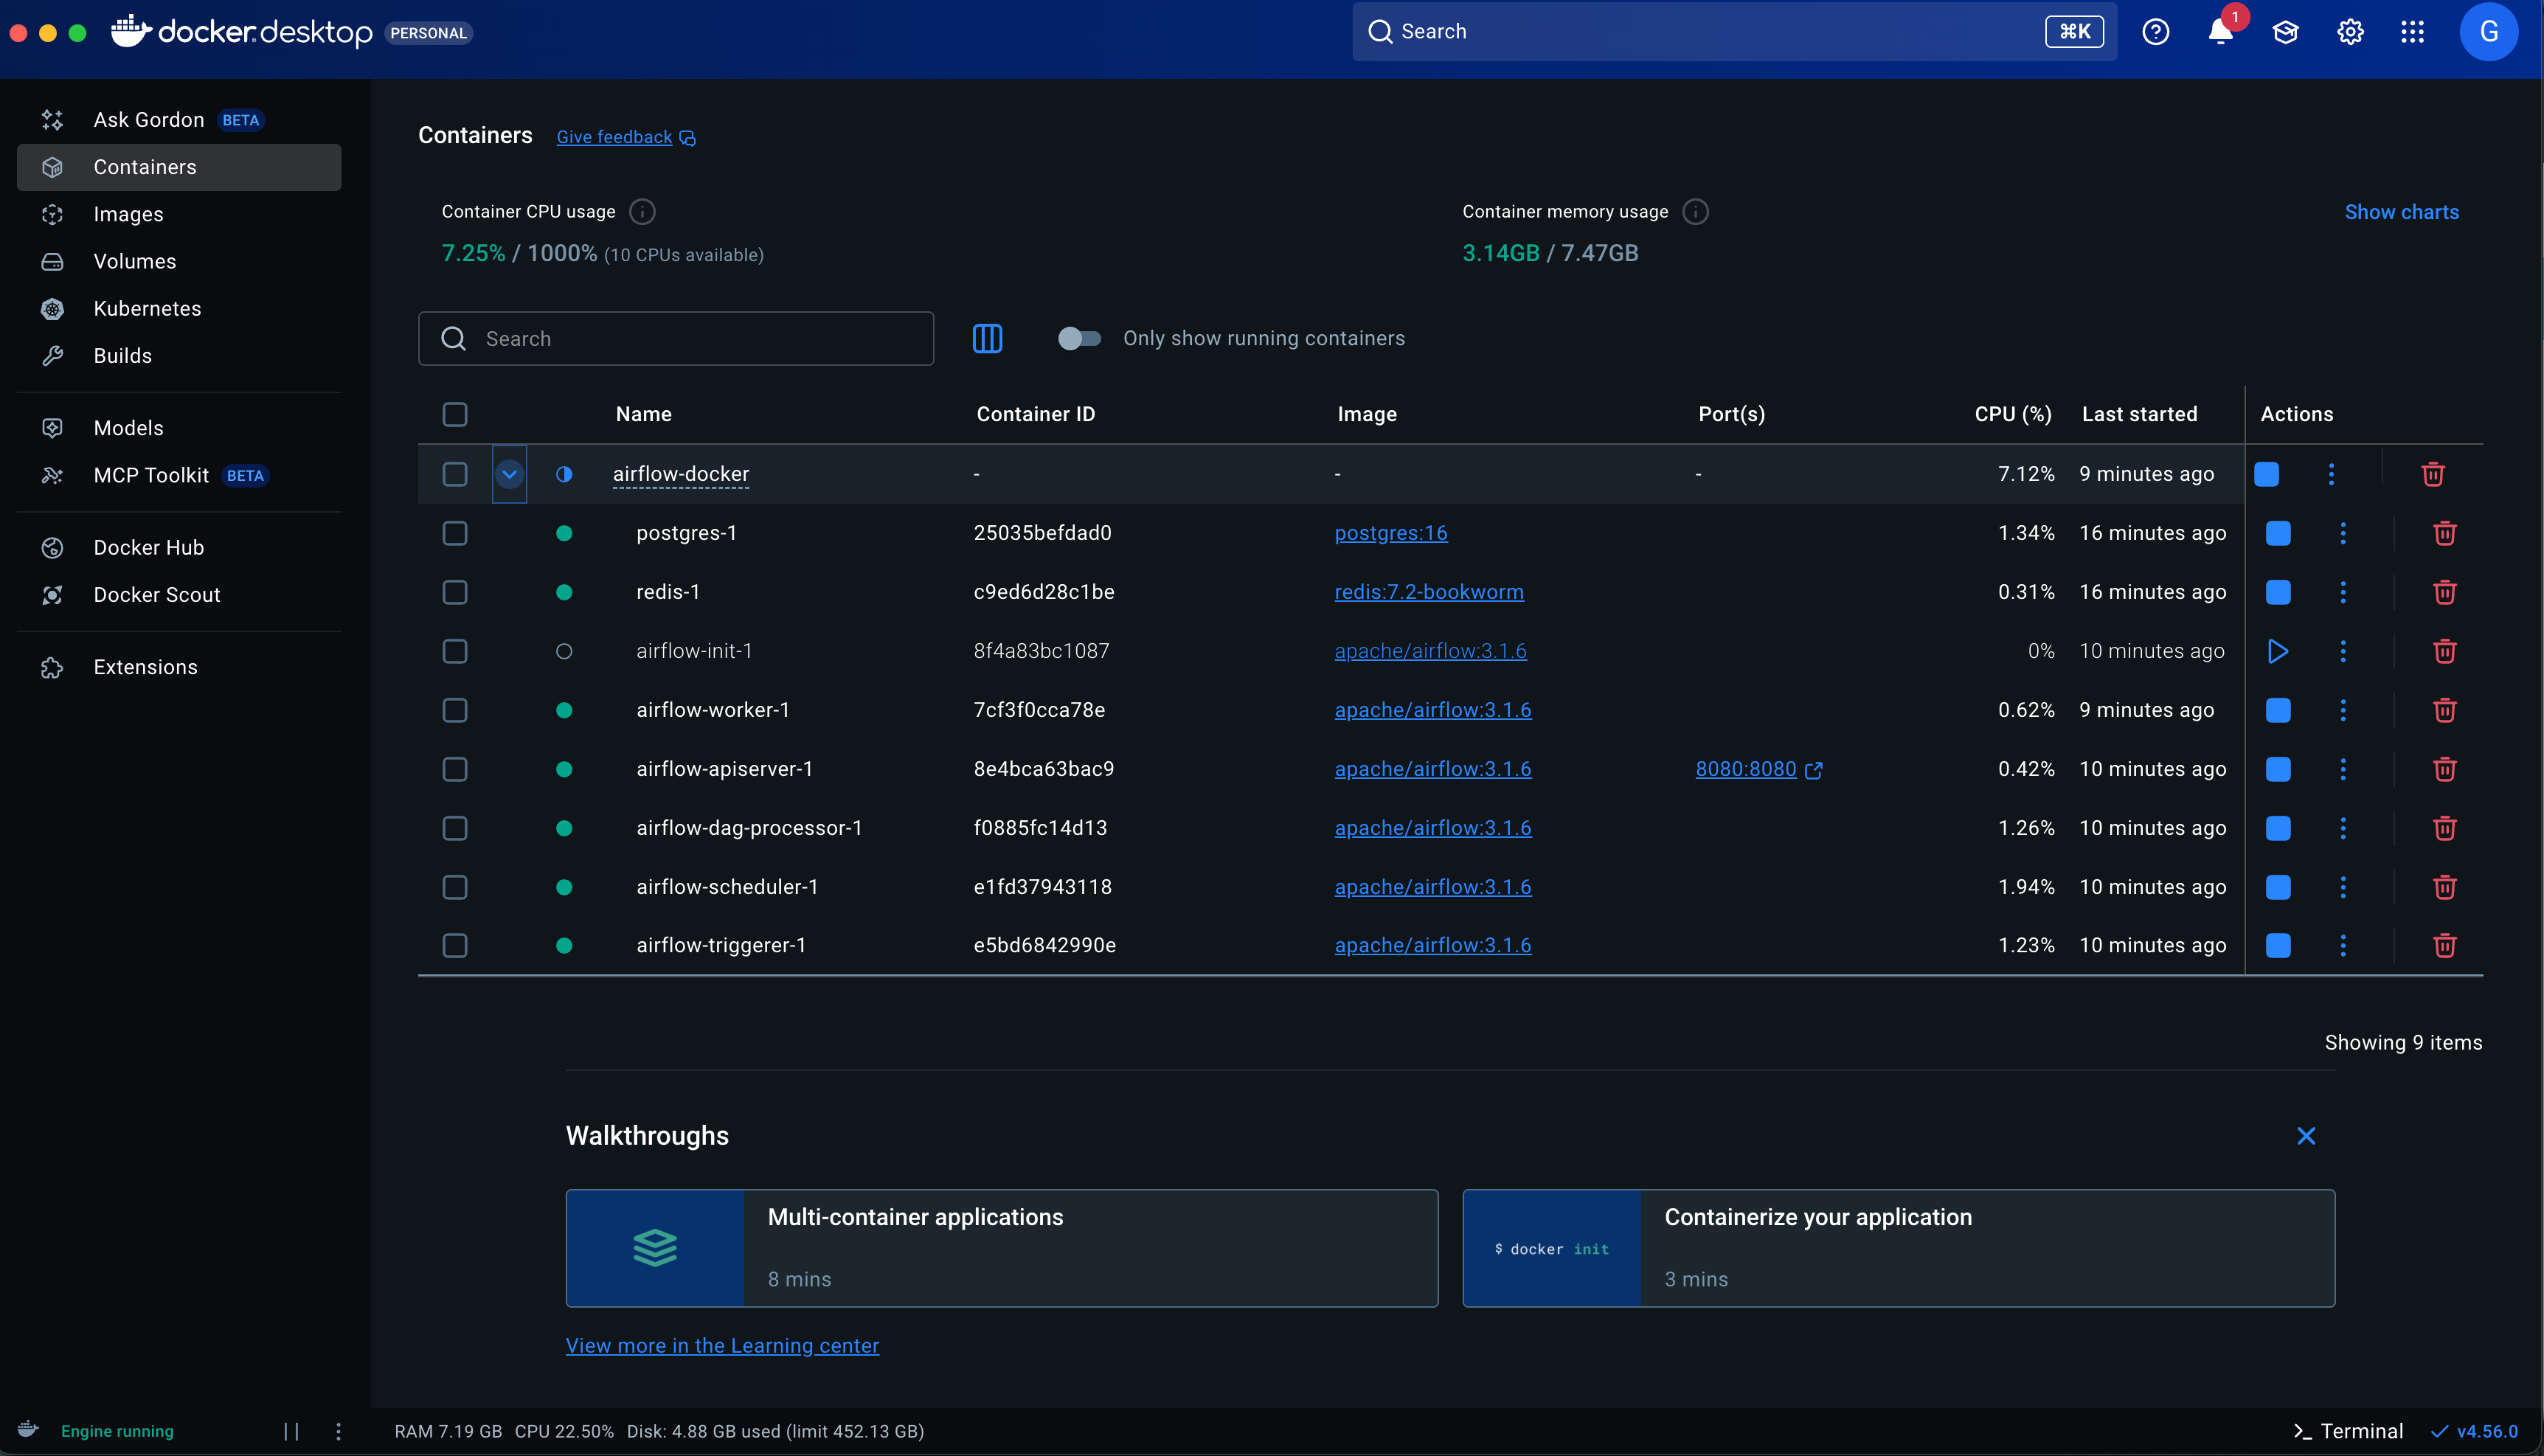
Opening the Docker Desktop application will give us a visual overview on our running Docker containers.
Conclusions
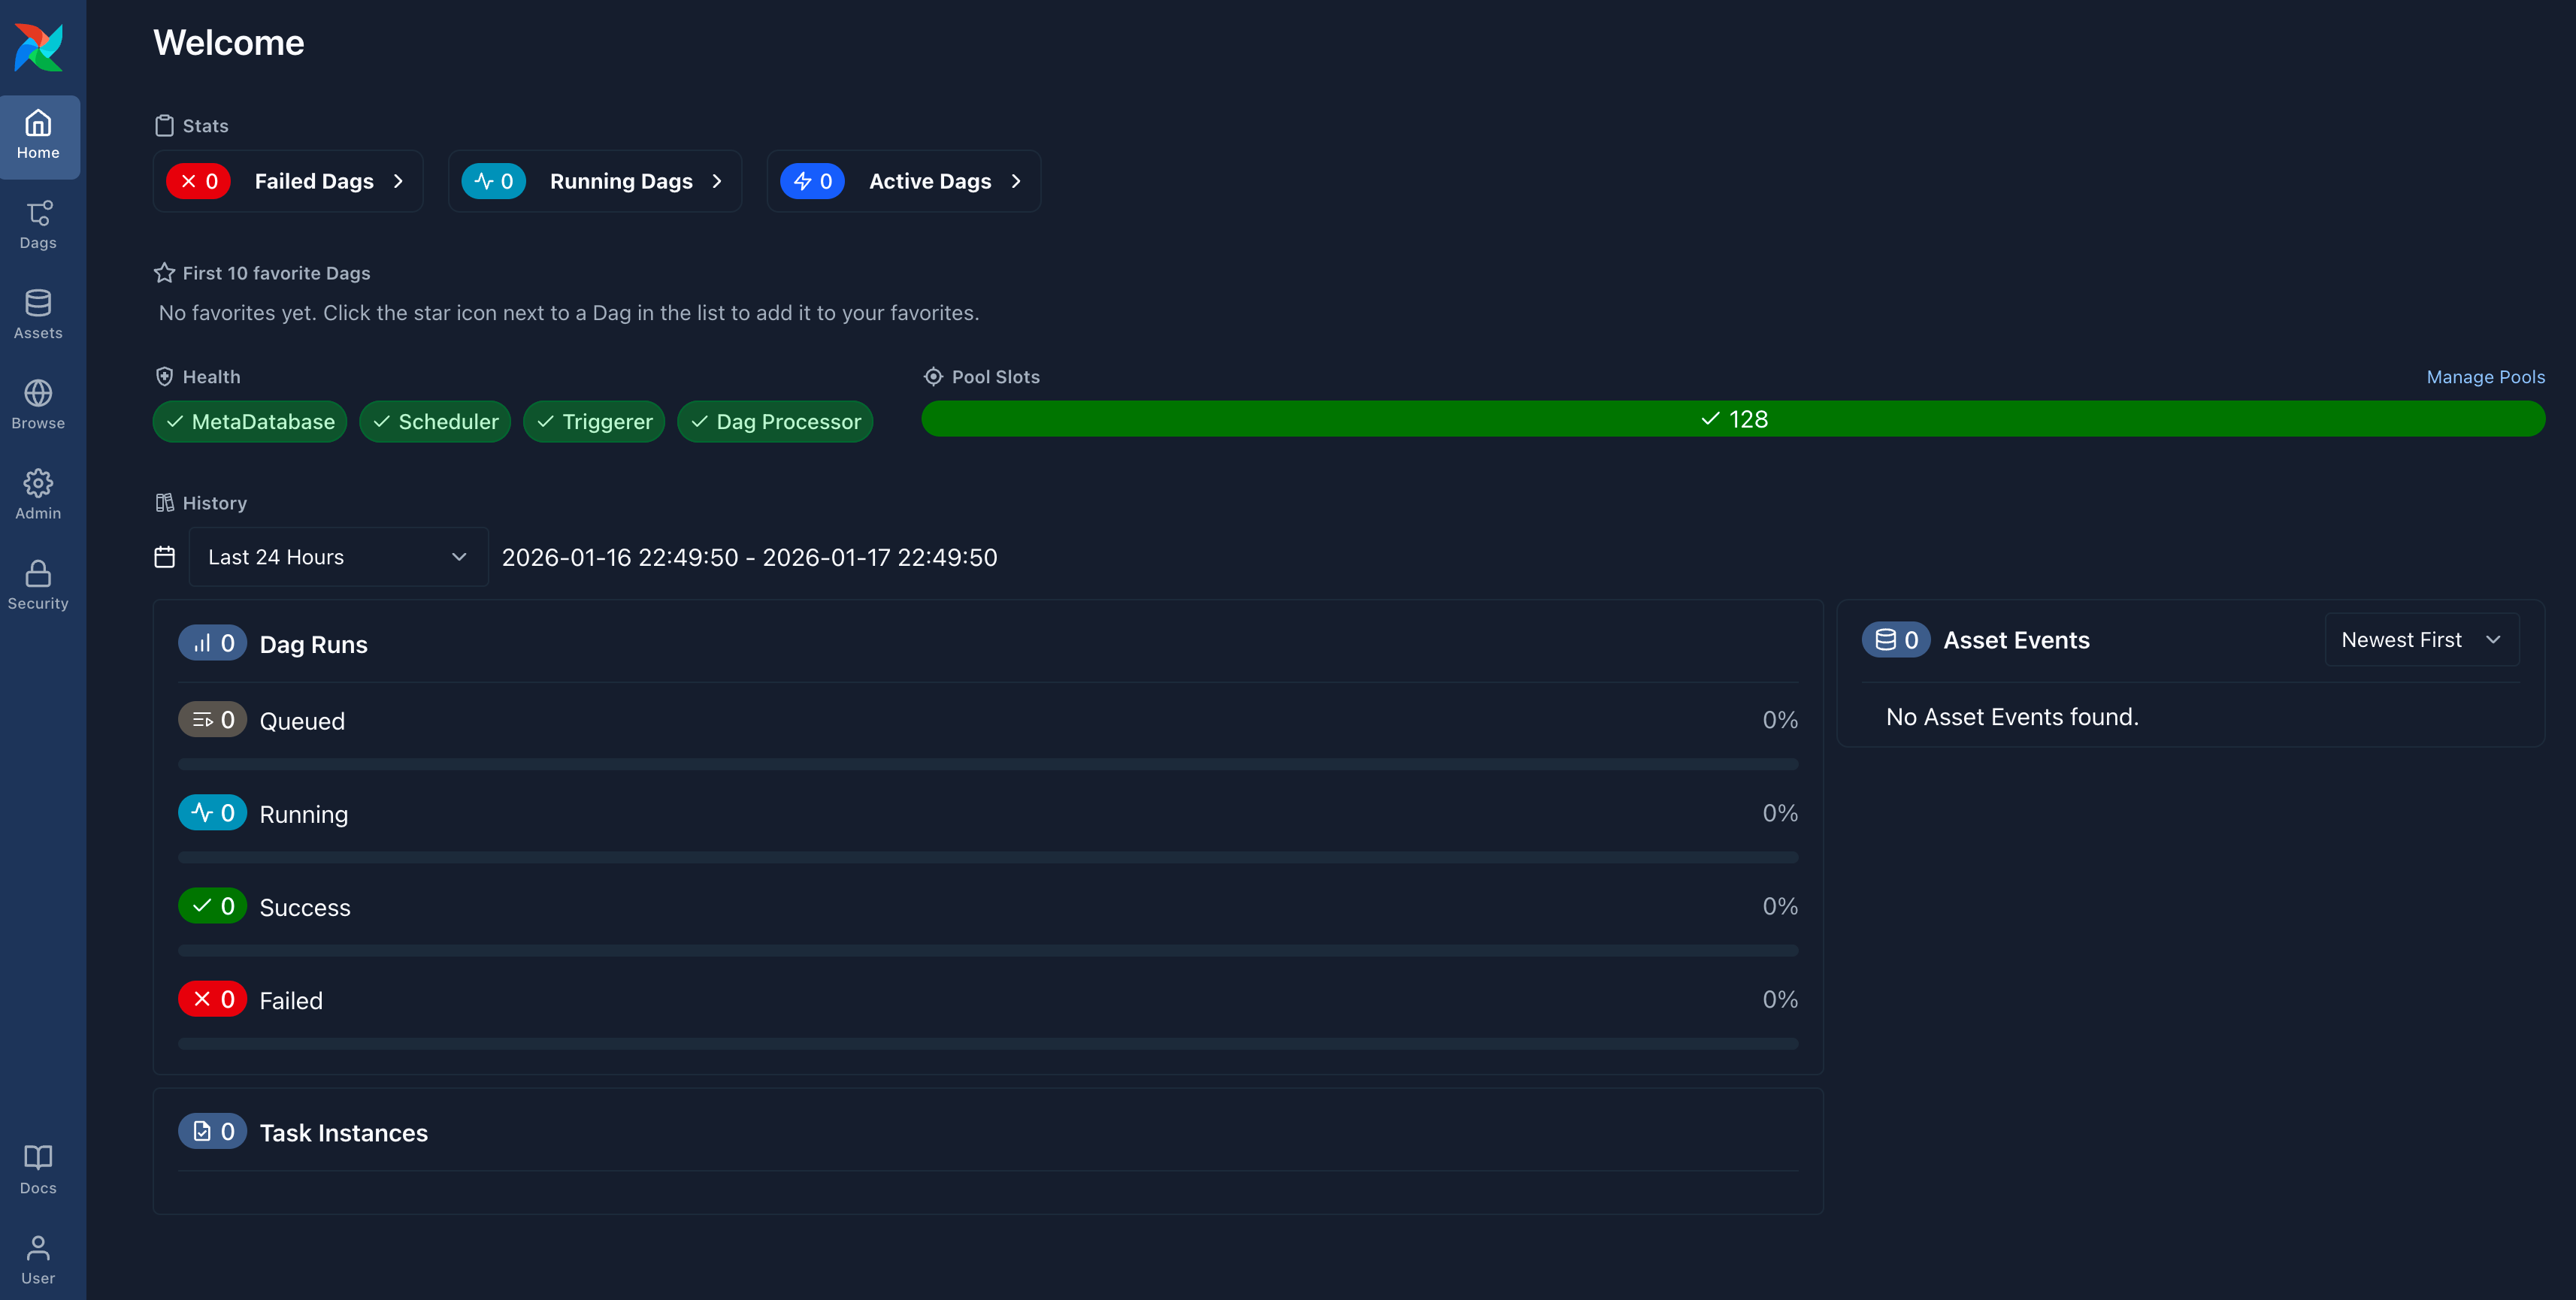
Congratulations! You installed and started your local Airflow environment using Docker.
In the next article we will play a bit with the DAGs!